75–110 mm · Four finishes
Branded GPU Support
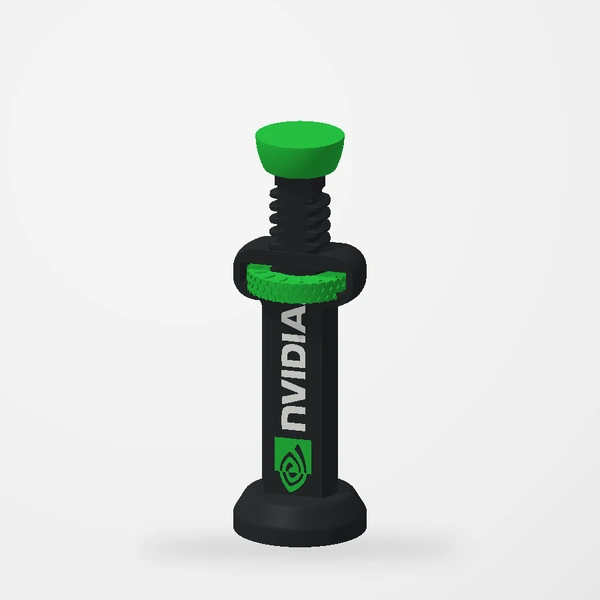
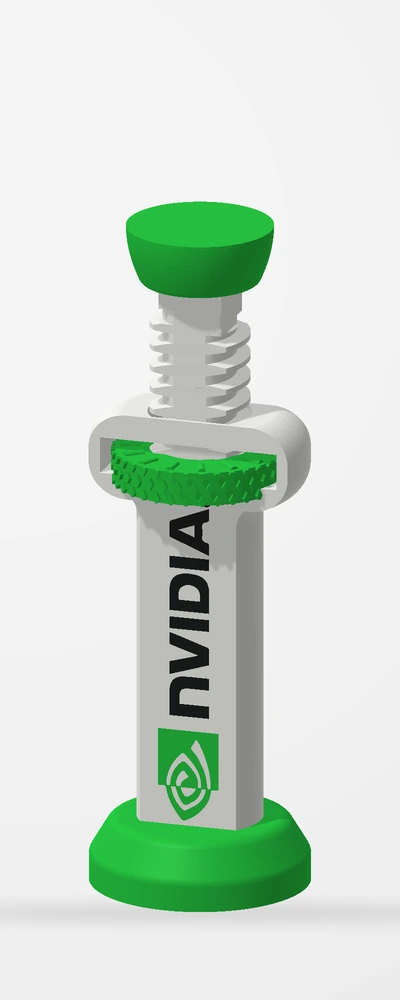
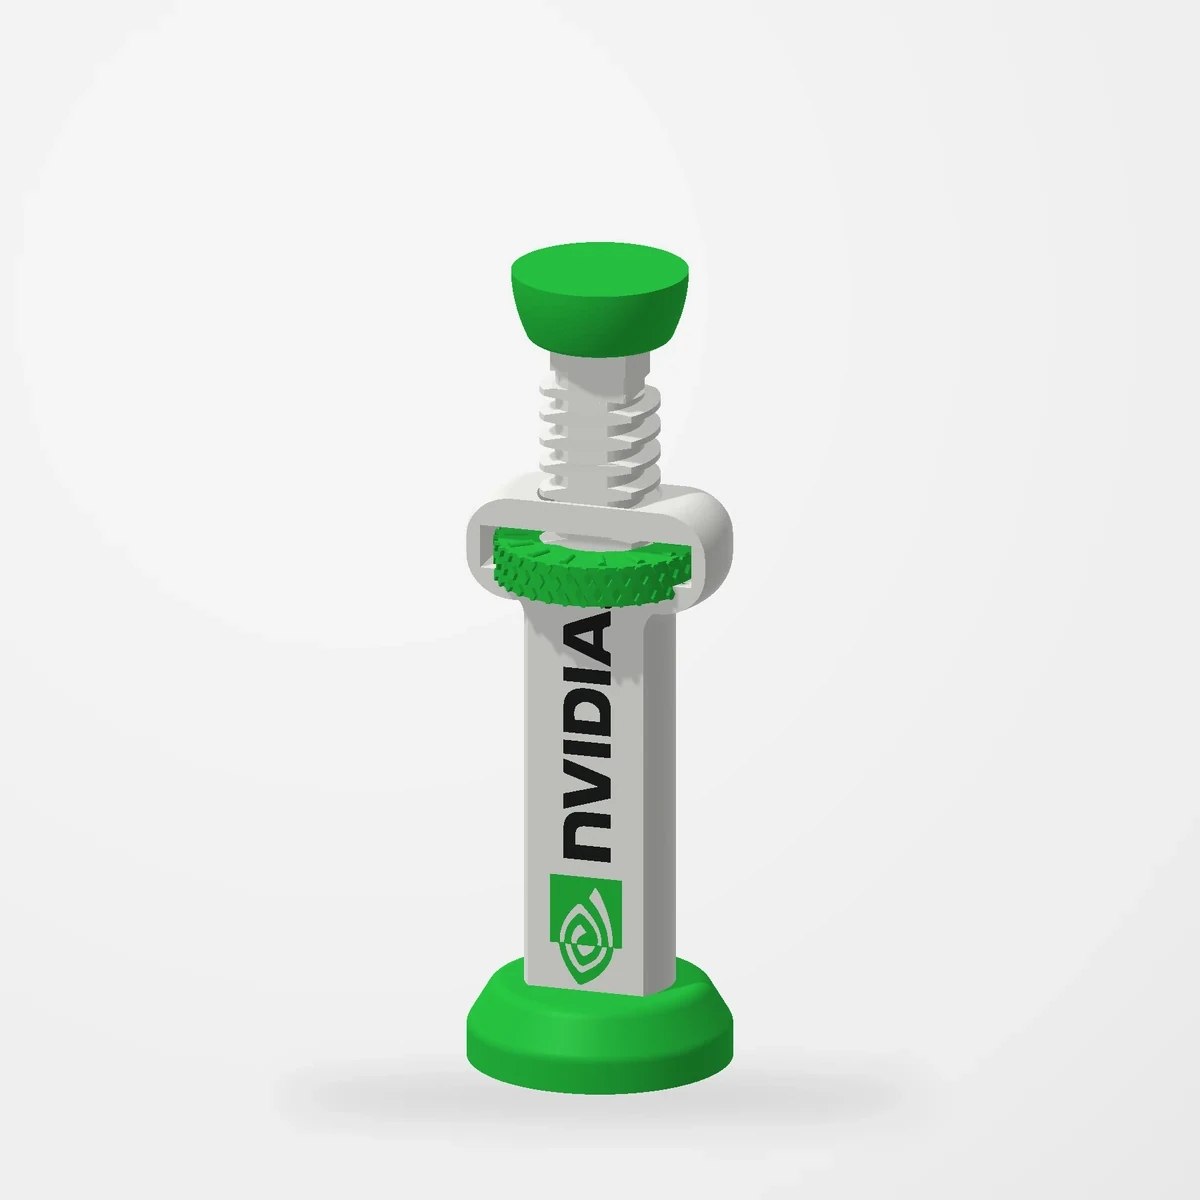
In stockHelp reduce graphics-card sag with an adjustable support in NVIDIA or Radeon styles, with black and white options.
Measure the available gap and supporting surface before ordering.
Manufactured from premium PETG-HF for thermal resistance and structural durability.
Why it’s designed this way
The useful part is the adjustable support. The NVIDIA and Radeon finishes let that practical detail belong visually in the rest of the build.
Before you order
- Assembled adjustment: 75–110 mm. Measure your gap at the intended support point.
- Check the base footprint and nearby fan/cable clearance.
Setup & use
 Step 1
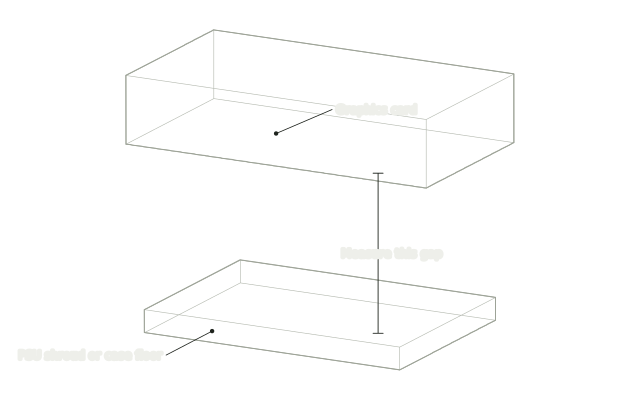
Measure the gap
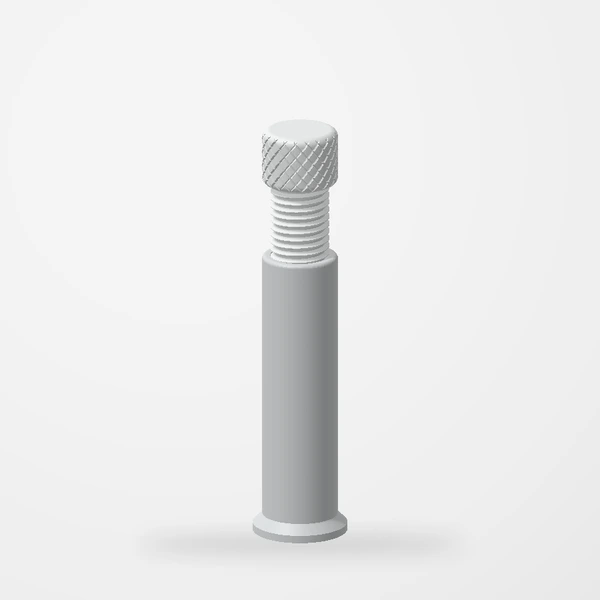
Measure straight down from a support point under the graphics card to the PSU shroud or case floor. This support covers 75–110 mm.
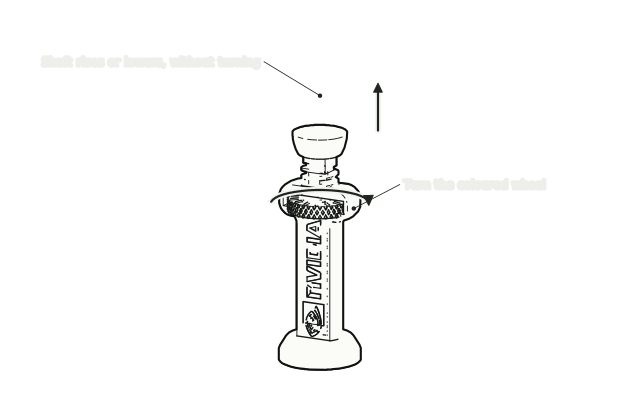 Step 2
Set it a little short
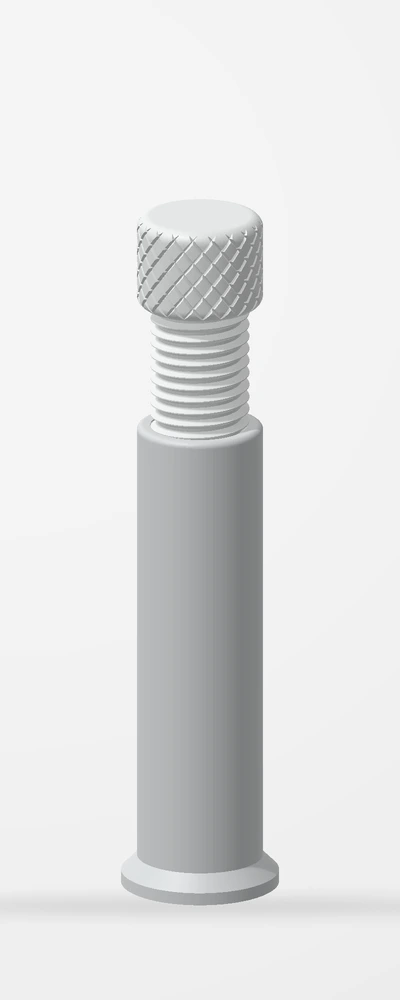
Turn the coloured wheel until the support is slightly shorter than your gap. The shaft and top pad move straight up and down.
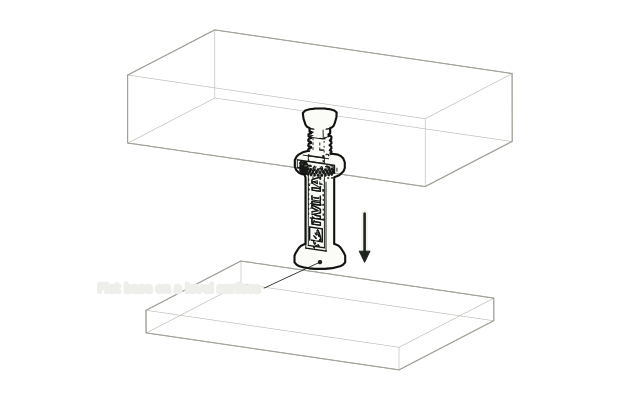 Step 3
Stand it on the shroud
With the PC off, stand the support upright on the PSU shroud or case floor under your support point, with its base flat on a level surface.
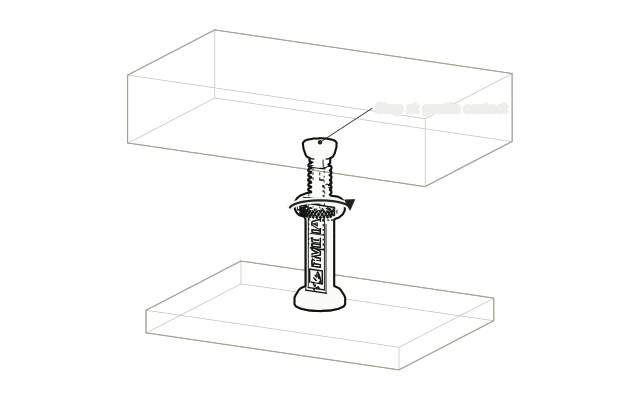 Step 4
Raise it to gentle contact
Turn the wheel until the pad just meets the card. Do not lift or force the card upward.
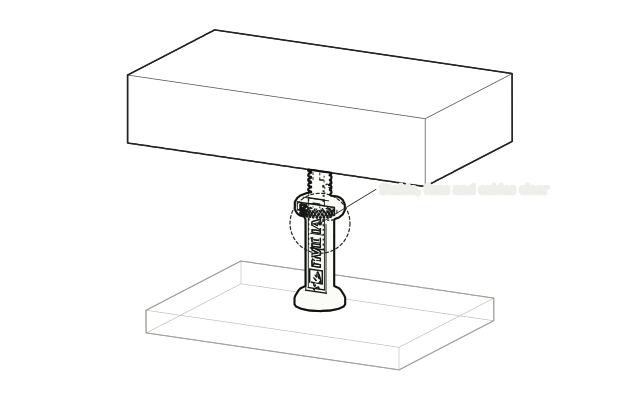 Step 5
Check before powering on
Check the support is upright and steady and that fans and cables are clear, then power on.
Drawn from the product’s 3D models. Cases, desks, devices and other surroundings are illustrative; drawings are not measured plans.
Care & troubleshooting
Wipe with a soft, slightly damp cloth, then dry. Avoid solvents and hot-water cleaning.