4 × 60 mm + 1 × 40 mm fans · Slide-on sleeve
EliteDesk 800 Mini Fan Mount
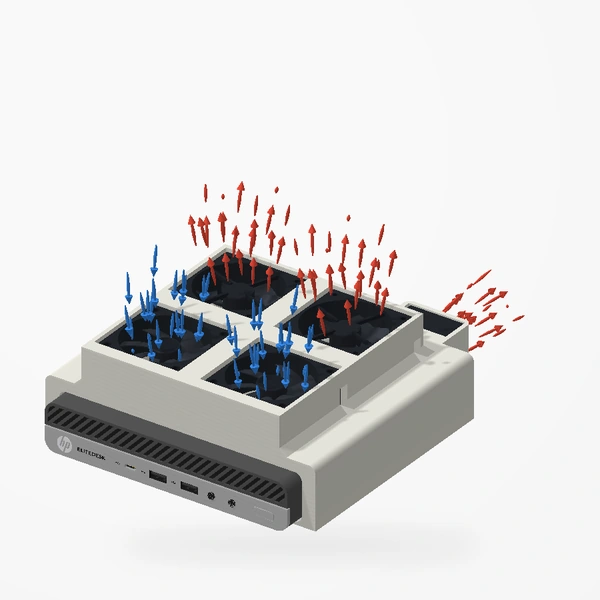
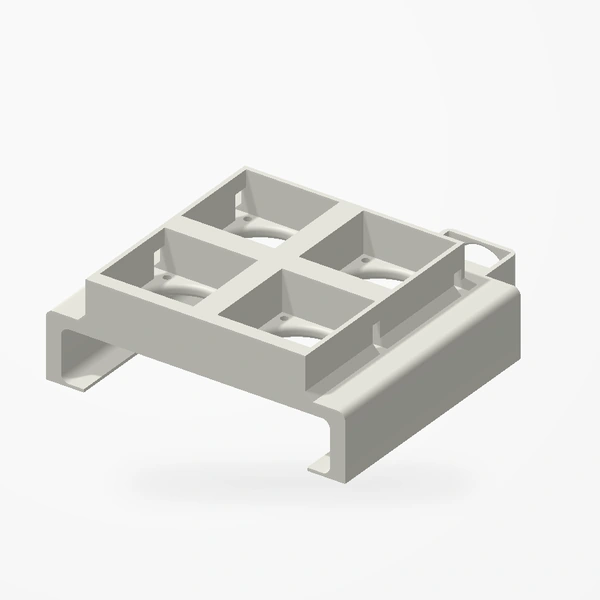
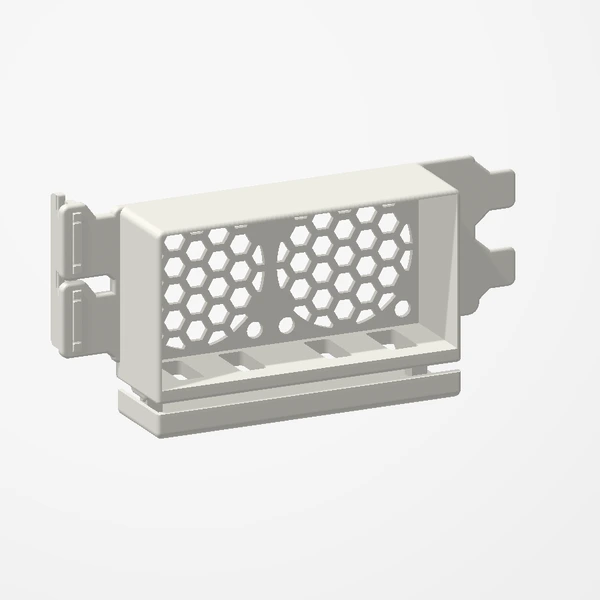
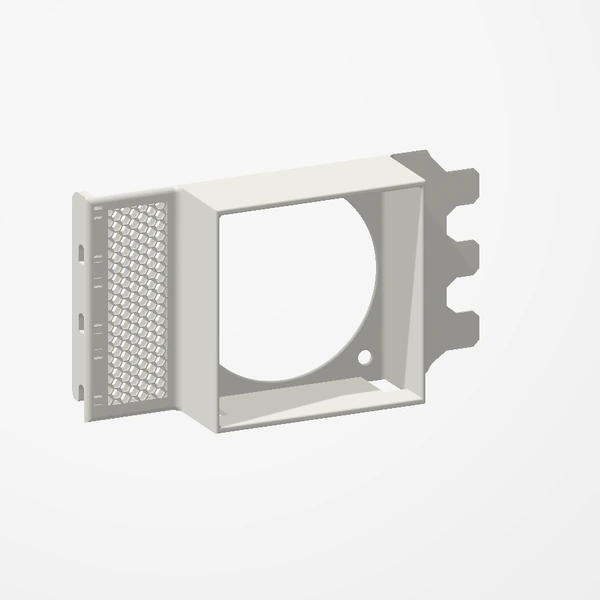
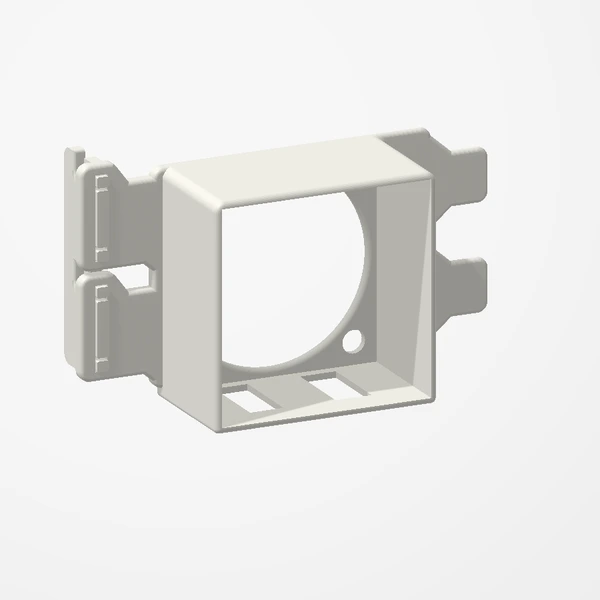
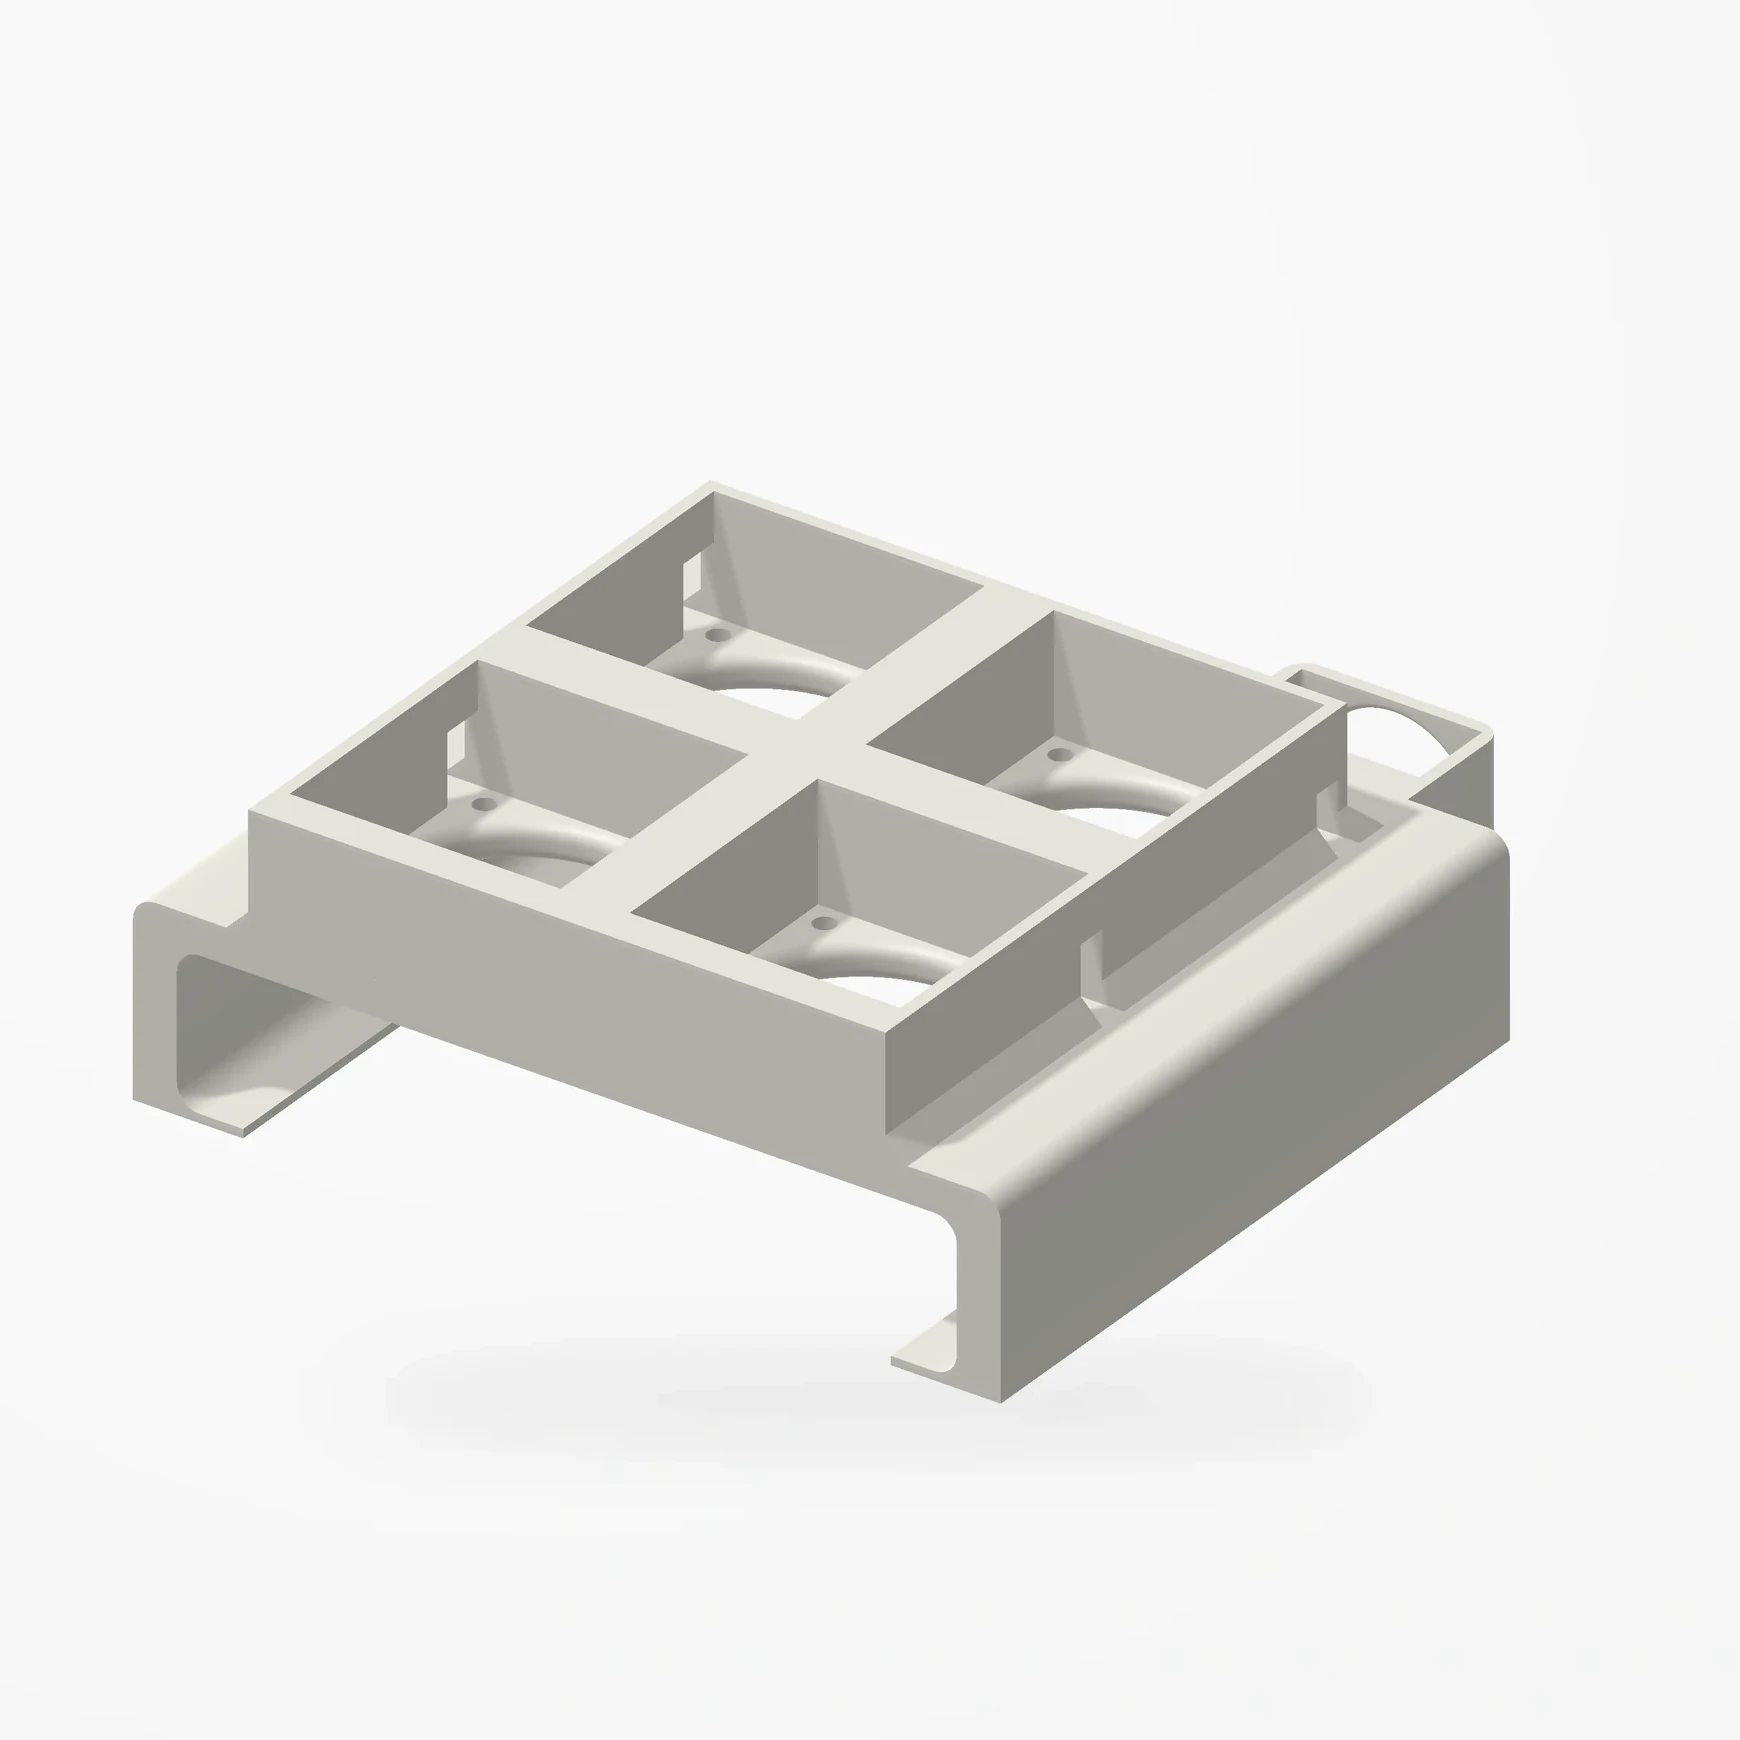
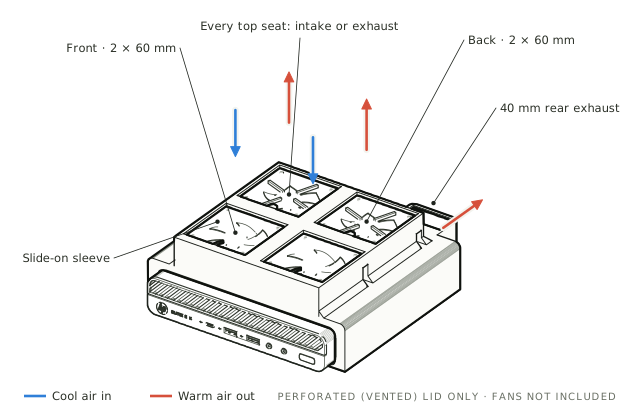
A slide-on sleeve that adds five fan mounts to an HP EliteDesk 800 G-series Mini, drastically improving airflow through a compact case. Four 60 mm seats cover the top of the lid and a sideways 40 mm seat exhausts out of the back. Every top seat takes its fan as an intake or an exhaust, so the layout is yours: two in and two out, three in and one out, all four in, or two fans now and more later. Each 60 mm seat has four corner screw holes, and the sleeve is secured with the existing rear lid screw. Fans are not included.
COMING SOON TO ETSY
Preview airflow and the perforated lid are illustrative.
Manufactured from premium PETG-HF for thermal resistance and structural durability.
Tested in our builds
What we measured
−19.0°C
NVMe drive peak
Five-fan mount vs. stock · 61.0°C → 42.0°C
−13.0°C
Chipset peak
Five-fan mount vs. stock · 62.0°C → 49.0°C
−9.0°C
CPU peak
Vs. legacy mount · 82.0°C → 73.0°C
Our own stress tests: 11 HWiNFO runs with all six cores at 100%, inside a closed drawer. Results vary by hardware, fans and workload; improvements are not guaranteed. Read the test notes
Previous versionSee legacy version
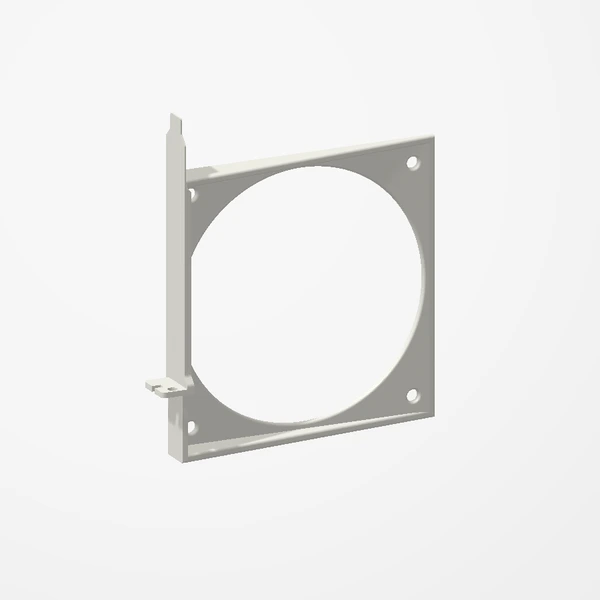
The first EliteDesk mount had three 60 mm seats and the 40 mm rear seat, in one fixed layout. The five-fan version keeps everything that worked, opens up the rest of the lid and, in our tests, ran cooler on every reading: CPU peak −9.0°C, chipset −5.0°C, NVMe drive −5.0°C.
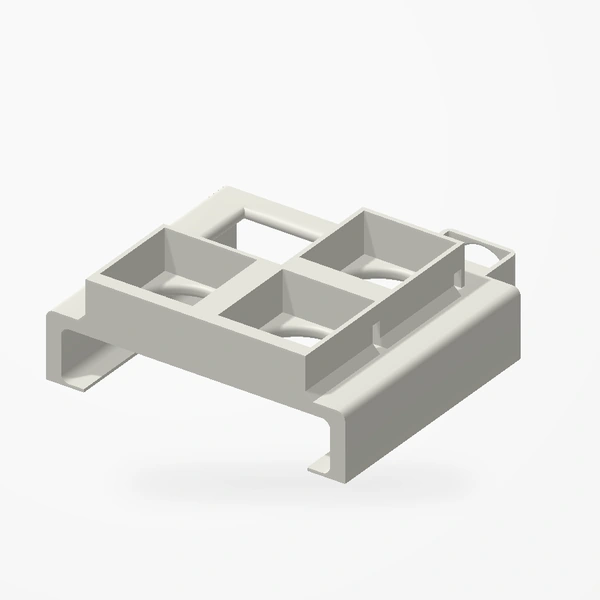
| Feature | Legacy | Five-fan |
|---|---|---|
| Fans | 4: three 60 mm + one 40 mm | 5: four 60 mm + one 40 mm |
| Fan layout | Fixed: two front intakes and one back-right exhaust | Yours: every top seat can be an intake or an exhaust, or stay empty |
| Back-left corner | An open window with no fan seat | A full 60 mm fan seat |
| Fan fixing | Fans sit in their pockets | Four corner screw holes in every 60 mm seat |
| Fit and setup | Slide-on sleeve, perforated lid only, existing lid screw | Unchanged |
| Reading | Legacy · test 9 | Five-fan · test 10 | Change |
|---|---|---|---|
| CPU, peak | 82.0°C | 73.0°C | −9.0°C |
| CPU, sustained | 75.7°C | 72.0°C | −3.7°C |
| Chipset, peak | 54.0°C | 49.0°C | −5.0°C |
| Chipset, sustained | 51.9°C | 46.8°C | −5.1°C |
| NVMe drive, peak | 47.0°C | 42.0°C | −5.0°C |
| NVMe drive, sustained | 45.5°C | 40.2°C | −5.3°C |
| NVMe drive, hottest sensor, peak | 55.0°C | 50.0°C | −5.0°C |
Test 9 was our last run with the legacy mount (lid mesh removed, heatsink fan set to intake, lid gaps taped); test 10 used the five-fan mount two days later. Same EliteDesk, same full load on all six cores, same closed drawer.
Why it’s designed this way
A mini PC packs a lot of heat into a small shell. This sleeve drastically improves its airflow through the perforated lid, and it leaves the layout to you: four 60 mm seats cover the top of the lid, each taking its fan as an intake or an exhaust, and a sideways 40 mm fan at the rear helps clear the stock exhaust grille. Front in and back out sends cool air toward the NVMe drive heatsink and the blower fan and clears warm air out of the top; more intakes push more cool air in.
Before you order
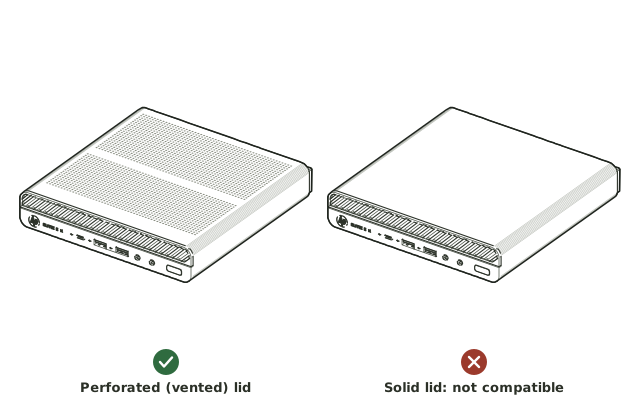
- Compatible only with HP EliteDesk 800 G-series Mini models with the perforated (vented) lid. It does not fit the solid lid.
- Fan configuration: up to 4 × 60 mm fans up to 25 mm thick on top, plus 1 × 40 × 40 × 20 mm fan at the rear. Each top seat can run its fan as an intake or an exhaust, and you can start with fewer fans. Fans are not included.
- The sleeve is a precise, made-to-measure slide-on fit over the lid and both sides; the rear tab uses the EliteDesk’s existing lid screw.
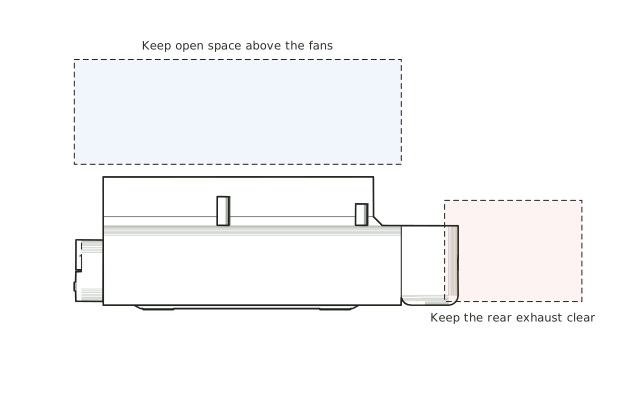
- Leave open space above the top fans and behind the rear exhaust. Avoid shelves, walls or cables that block them.
Setup & use
 Step 1
Check the lid
Make sure your EliteDesk 800 G-series Mini has the perforated (vented) lid. The sleeve does not fit the solid lid.
 Step 2
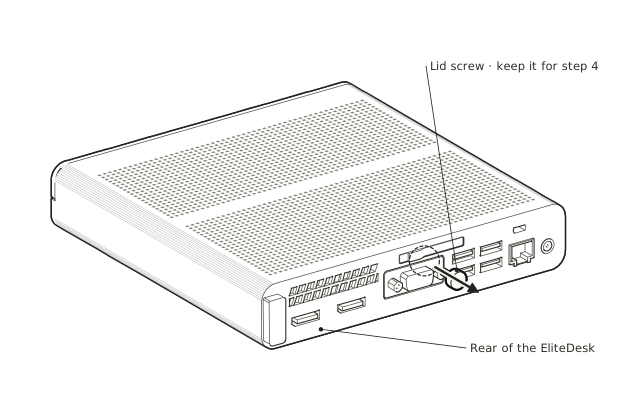
Power down and remove the lid screw
Shut down the EliteDesk and disconnect power. Remove the screw at the rear of the lid and keep it for step 4.
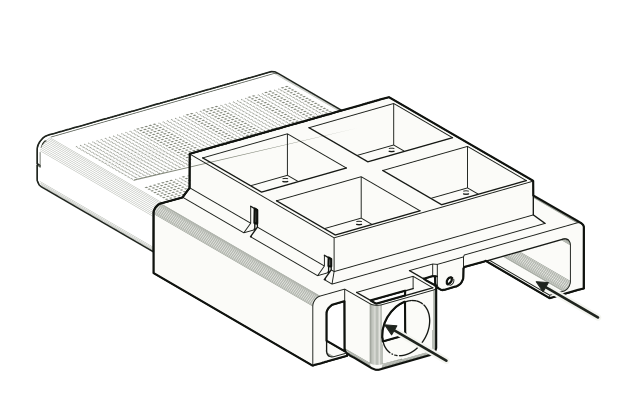 Step 3
Slide the sleeve on from the rear
From the rear, slide the sleeve forward over the lid until the rear tab sits against the back of the case. It is made to measure, so it starts tight: a little wiggle gets it going, then it slides on more smoothly the further it goes.
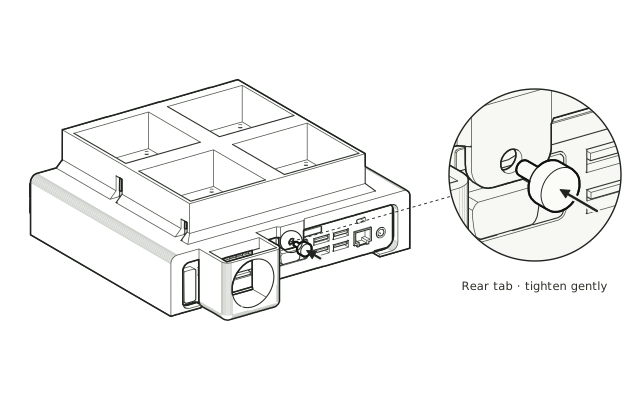 Step 4
Secure the rear tab
Refit the same lid screw through the rear tab. Tighten gently; do not overtighten.
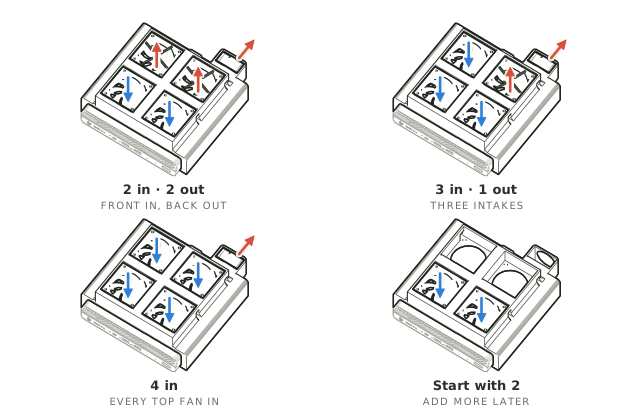 Step 5
Choose your fan layout
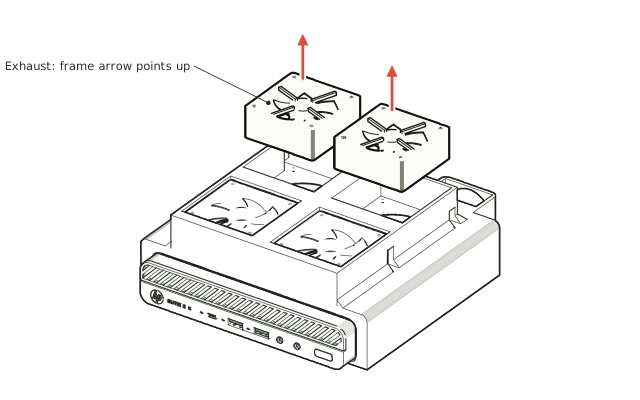
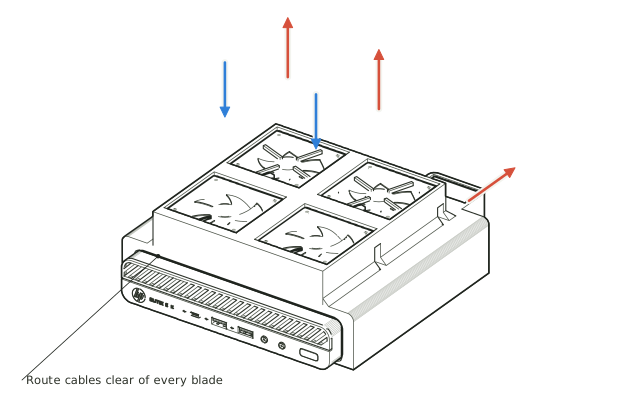
Each of the four 60 mm top seats can run its fan as an intake (blowing down into the case) or an exhaust (blowing up and out), and the 40 mm rear seat exhausts out of the back. Two in and two out is a balanced start; three in and one out, or all four in, push more cool air into the case. You can also start with two fans and add the rest later.
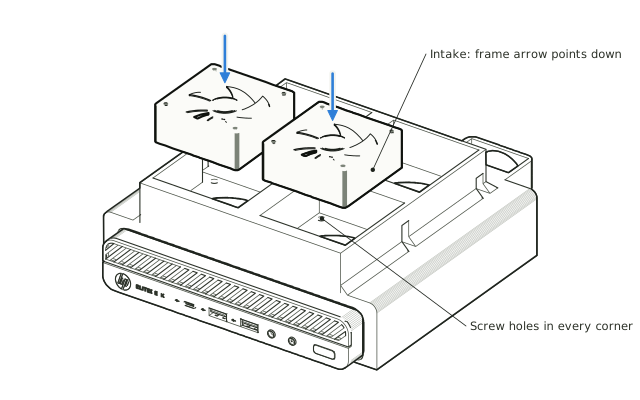 Step 6
Fit the two front fans
Seat a 60 mm fan (up to 25 mm thick) in each front seat. For intake, its frame arrow points down, blowing into the case. Secure each fan with the screws that came with it, through the four corner holes.
 Step 7
Fit the two back fans
Seat the back two 60 mm fans the same way and screw them in. For exhaust, the frame arrow points up so the fan blows up and out; turn a fan over to make it an intake if your layout calls for it.
 Step 8
Drop in the 40 mm rear fan
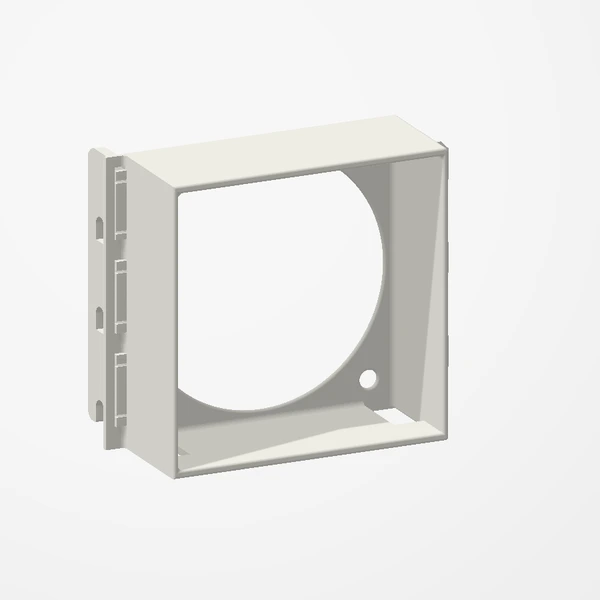
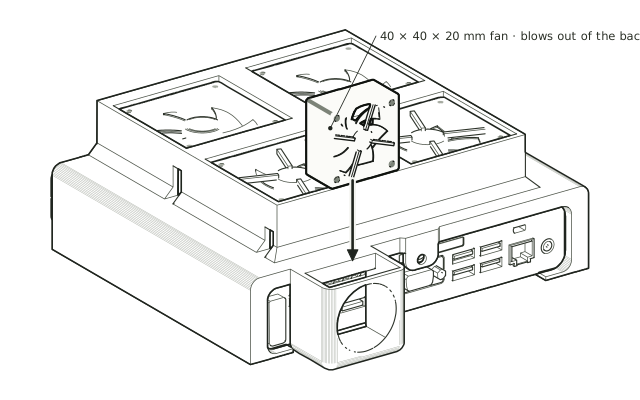
Drop the 40 × 40 × 20 mm fan into the rear pocket from the top so it exhausts out of the back, away from the stock grille.
 Step 9
Connect the fans and check them
Route and connect the fan cables clear of all blades, following each fan manufacturer’s instructions. Check every blade turns freely before switching on.
 Step 10
Leave room to breathe
Leave open space above the top fans and behind the rear exhaust. Avoid shelves, walls or cables that block them.
Drawn from the product’s 3D models. Fans, the lid screw and the lid perforations are illustrative; drawings are not measured plans. Fans are not included.
Care & troubleshooting
Wipe with a soft, slightly damp cloth, then dry. Avoid solvents and hot-water cleaning. Dust the fans and lid perforations regularly; blocked intakes reduce airflow. If you notice vibration or blade contact, power down and recheck fan seating, fan screws and cable routing.