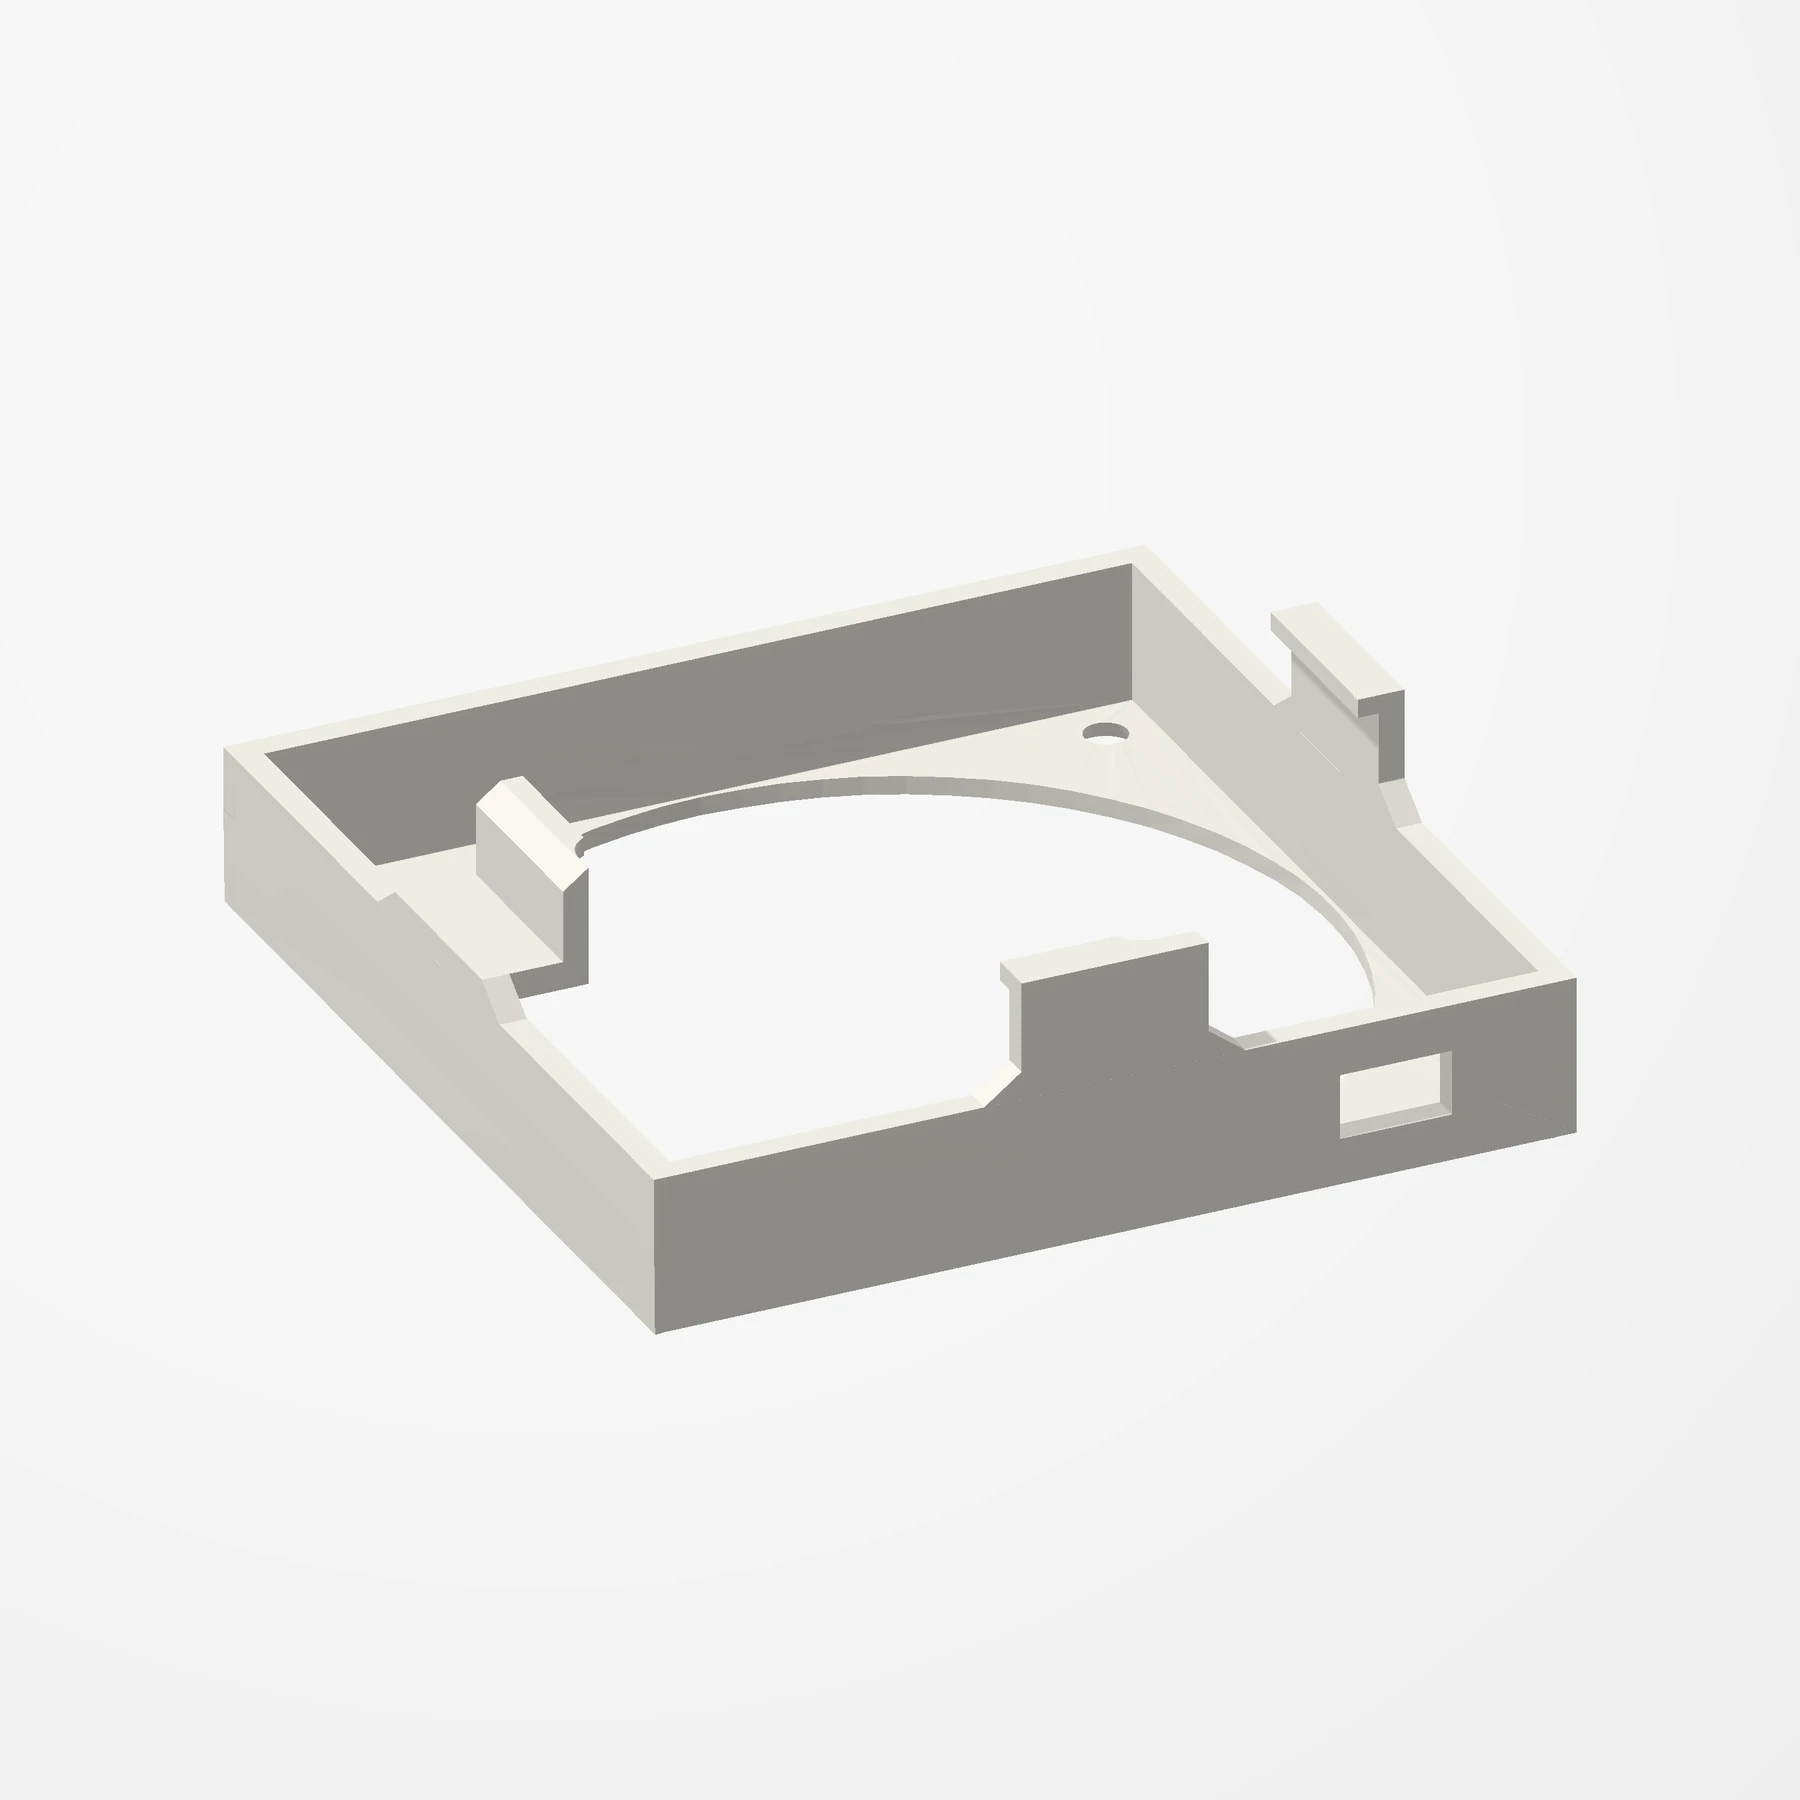
One 92 mm fan · Clips on
LSI 9300-16i Fan Shroud
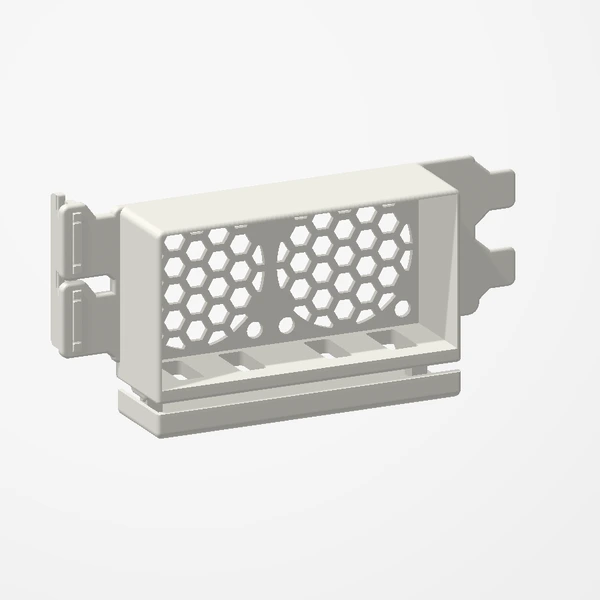
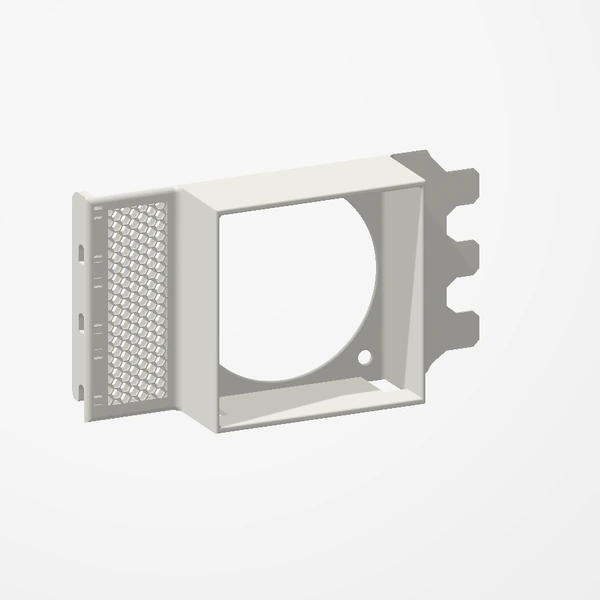
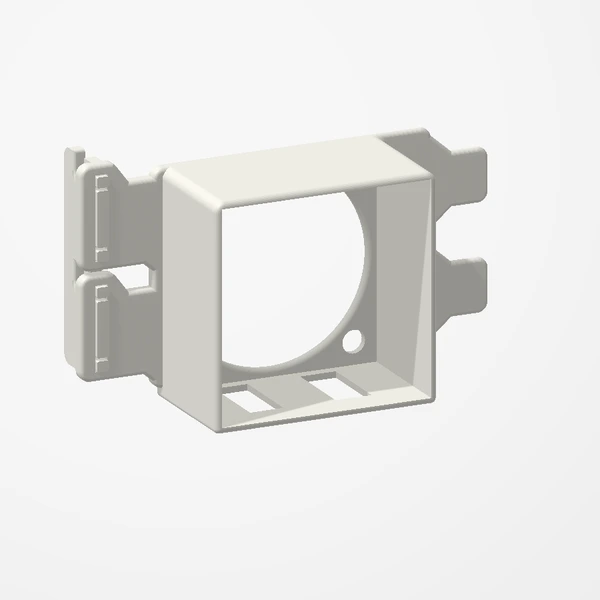
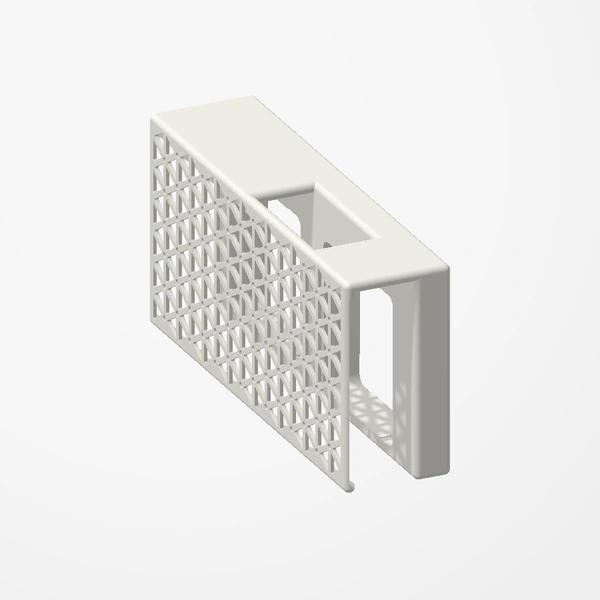
In stockClip a 92 mm fan straight onto the stock heatsink of an LSI 9300-16i HBA, so the card gets airflow of its own instead of relying on case fans. Fan not included.
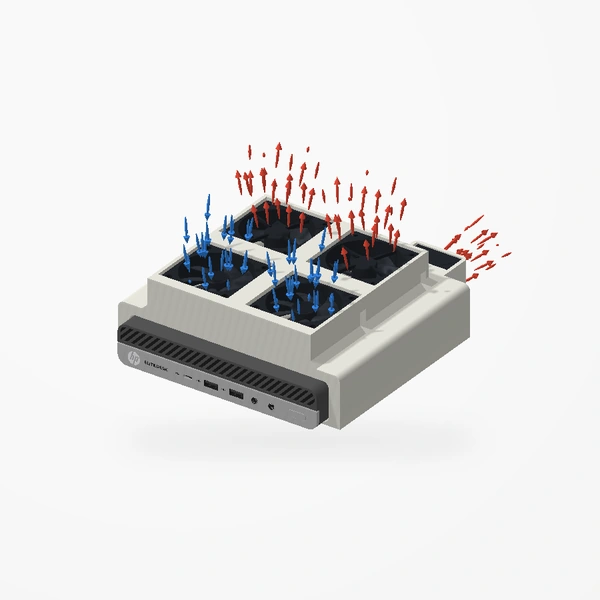
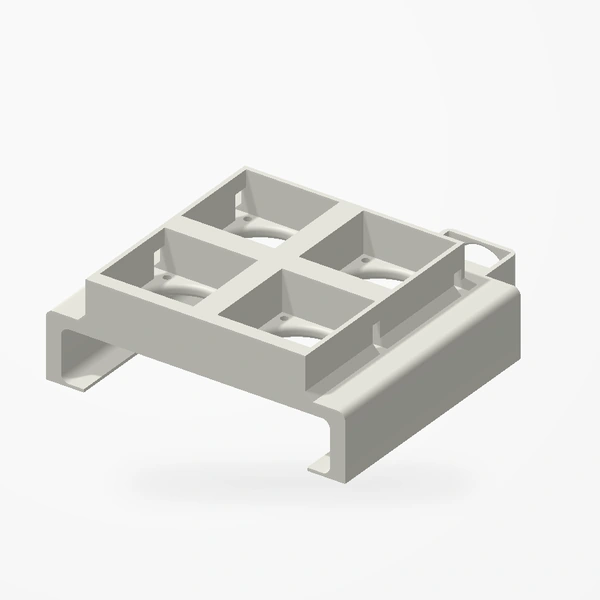
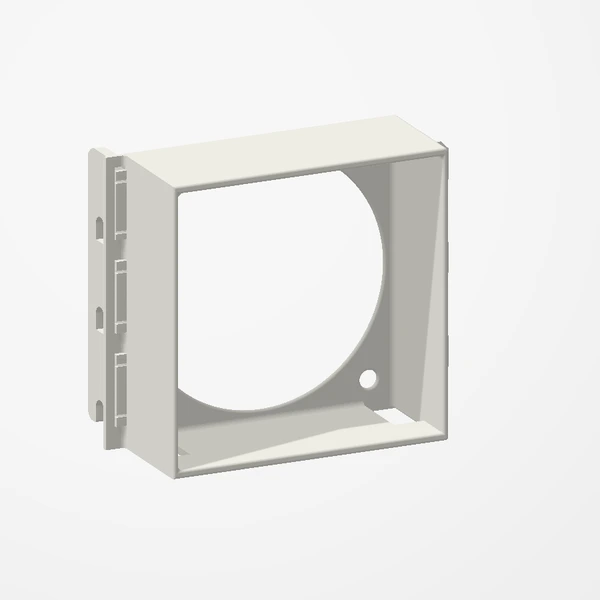
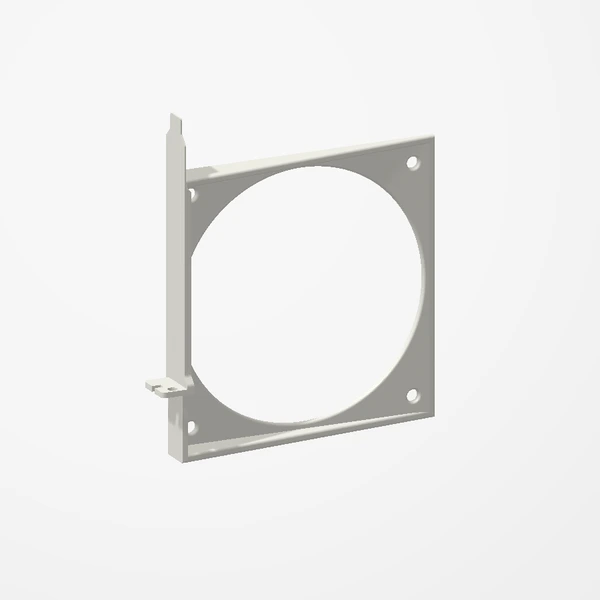
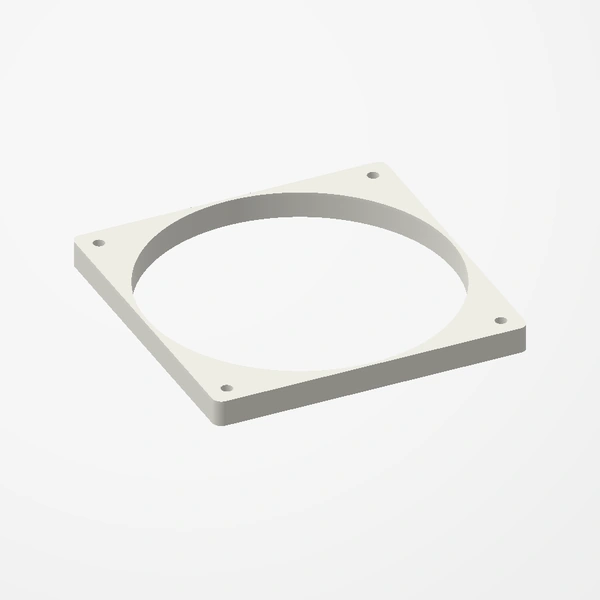
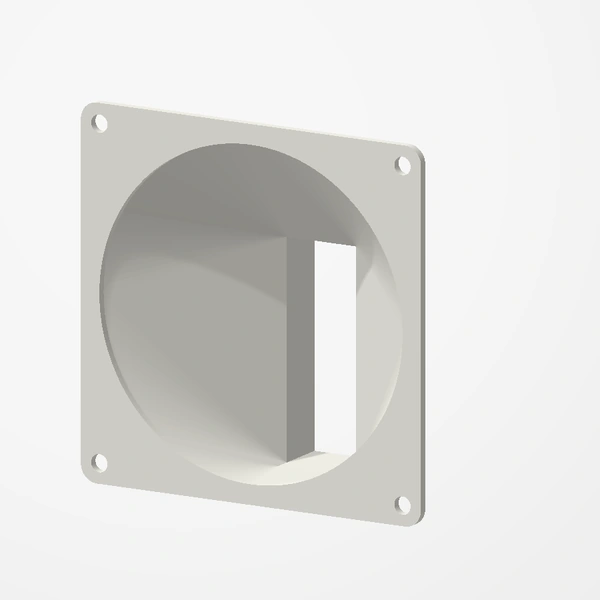
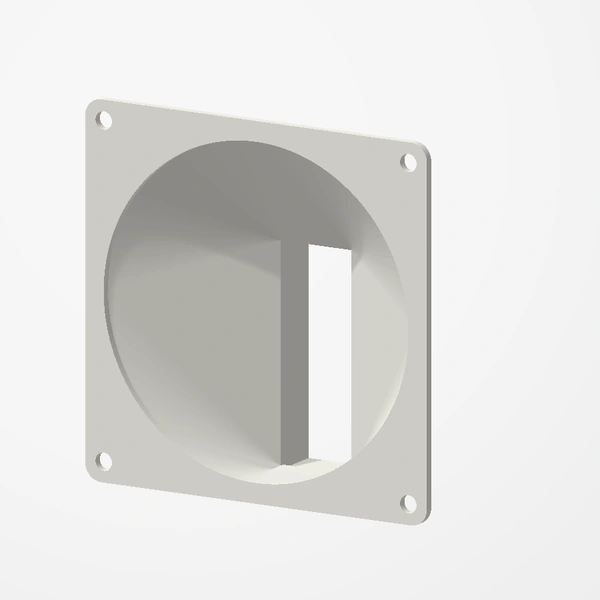
Made for the LSI 9300-16i with its stock heatsink. Takes a 92 mm fan up to 14 mm thick (Noctua NF-A9x14 shown). With the fan fitted, the card takes up two slots. Card and fan are shown for fit and scale and are not included; airflow is illustrative. See Etsy for available colors.
Manufactured from premium PETG-HF for thermal resistance and structural durability.
Why it’s designed this way
Give a hot-running LSI 9300-16i its own airflow by clipping a 92 mm fan onto its heatsink.
Before you order
- An LSI 9300-16i with its stock heatsink
- A 92 mm fan no thicker than 14 mm (Noctua NF-A9x14 shown)
- Room for the card to take up two slots once the fan is fitted
Setup & use
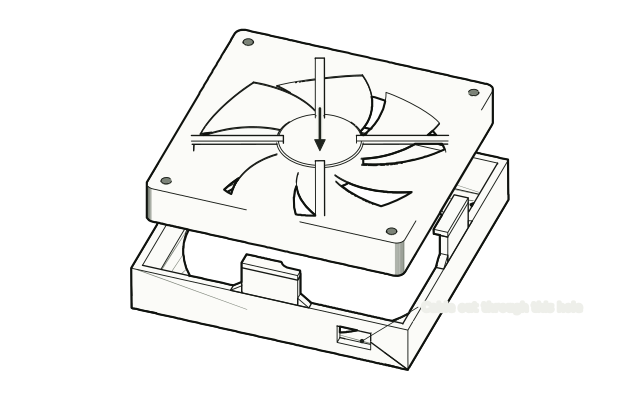 Step 1
Fit the fan
Thread the fan cable through the hole in the shroud, then press the 92 mm fan in so it will blow onto the heatsink; the fit is snug and the clips may need a gentle bend.
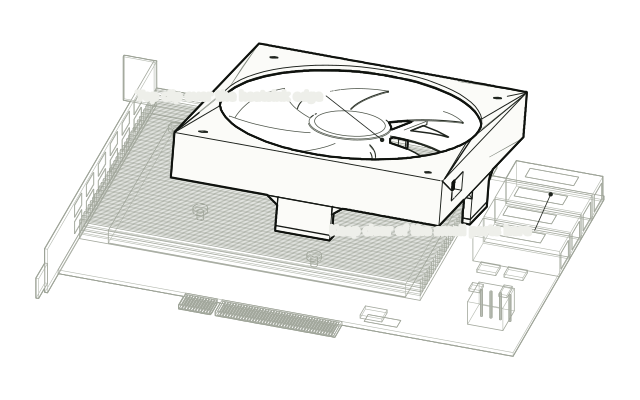 Step 2
Hook the top clip
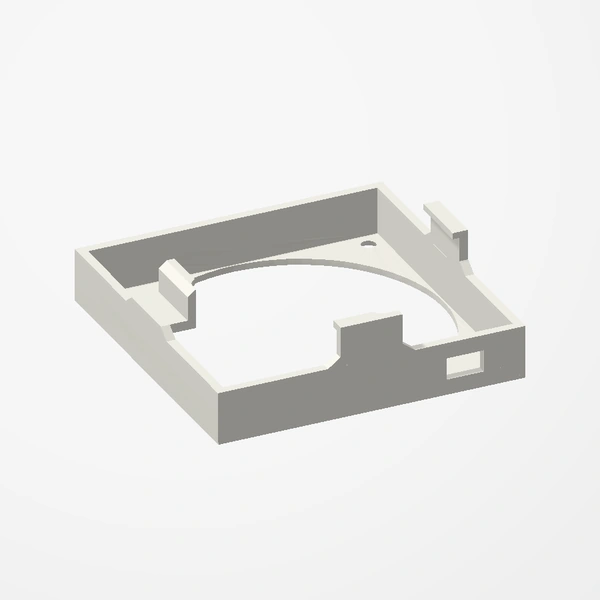
Hook the top clip over the heatsink, keeping clear of the small components on the card.
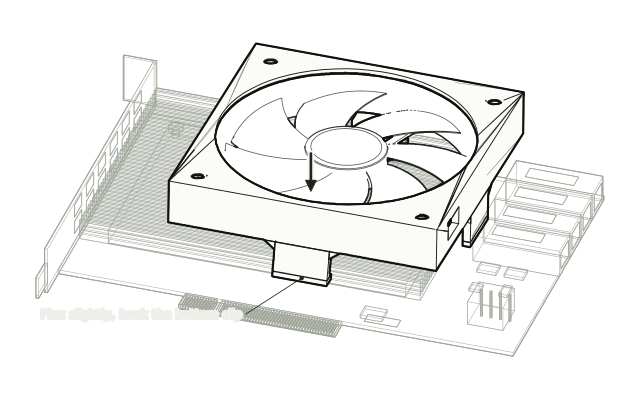 Step 3
Hook the bottom clip
Flex the shroud slightly and hook the bottom clip.
 Step 4
Slide it to lock
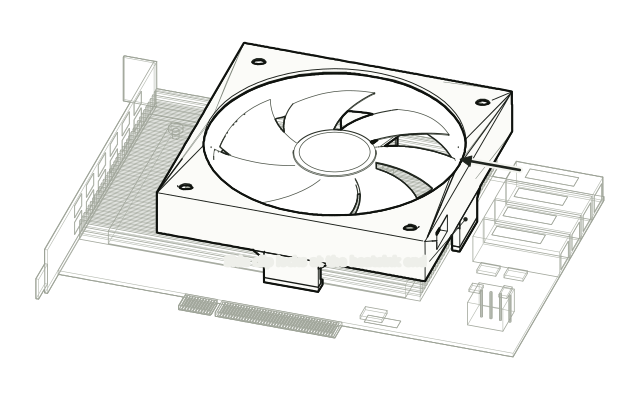
Slide the shroud to the left until the side clip locks; it should sit tight without sliding.
 Step 5
Install and connect
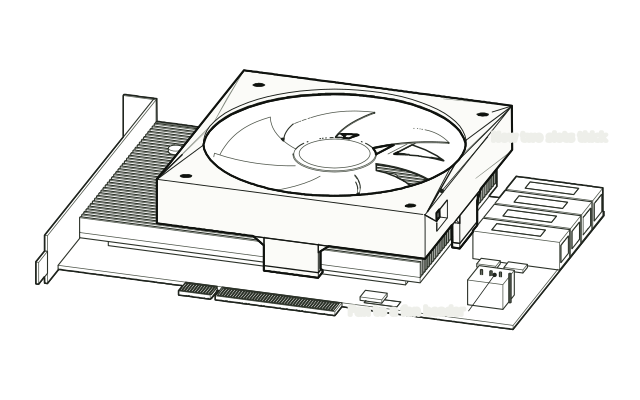
Install the card, which now takes up two slots, and connect the fan to a fan header.
Drawn from the product’s 3D models. Cases, desks, devices and other surroundings are illustrative; drawings are not measured plans.
Care & troubleshooting
If the shroud shifts, slide it left again until the side clip locks. Keep the fan cable clear of the blades, and clear dust from the fan and heatsink now and then.